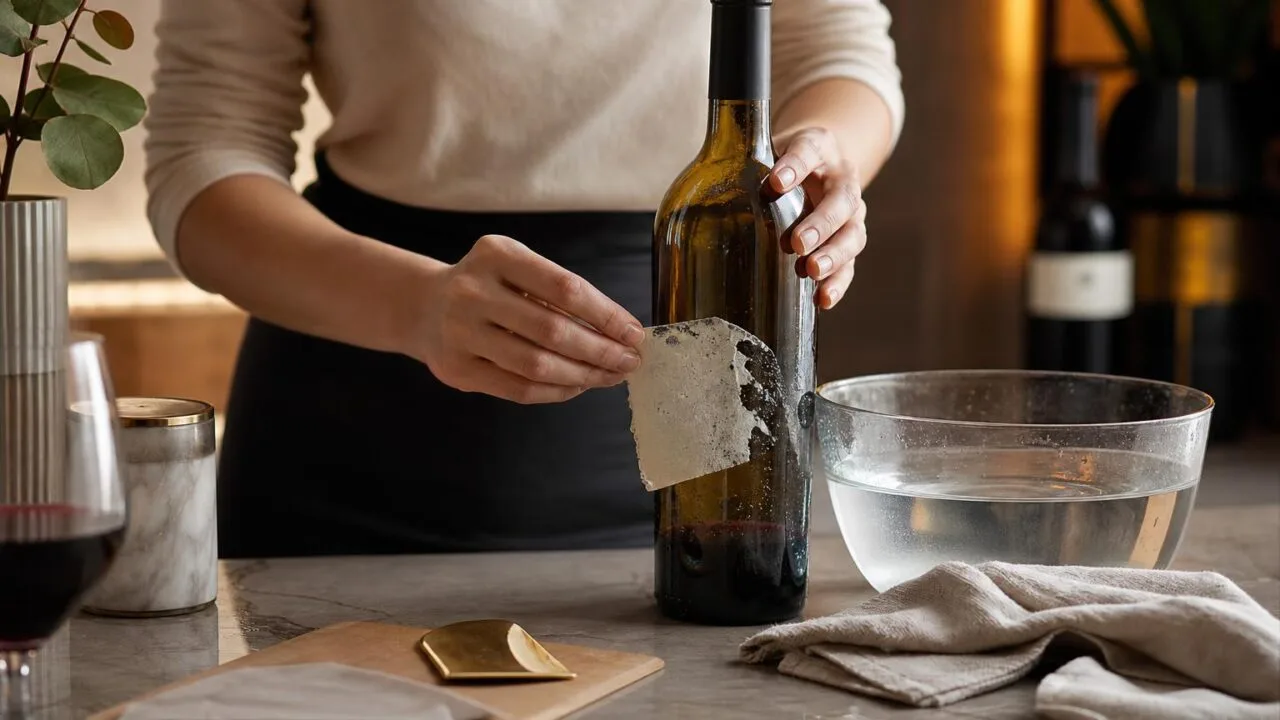
How To Remove Wine Labels is a careful soak, steam, or heat process that loosens adhesive without tearing the paper or damaging the bottle.
Collectors usually start by identifying whether the label uses water-soluble glue or pressure-sensitive adhesive, because each responds better to a different method.
At Flight Wine Bar, we’ve saved labels from memorable vintages by testing a corner first, using warm water for traditional glue and gentle oven heat for stubborn modern stickers.
The right approach preserves tasting notes, travel memories, and cellar records cleanly.
How Wine Labels Actually Come Off
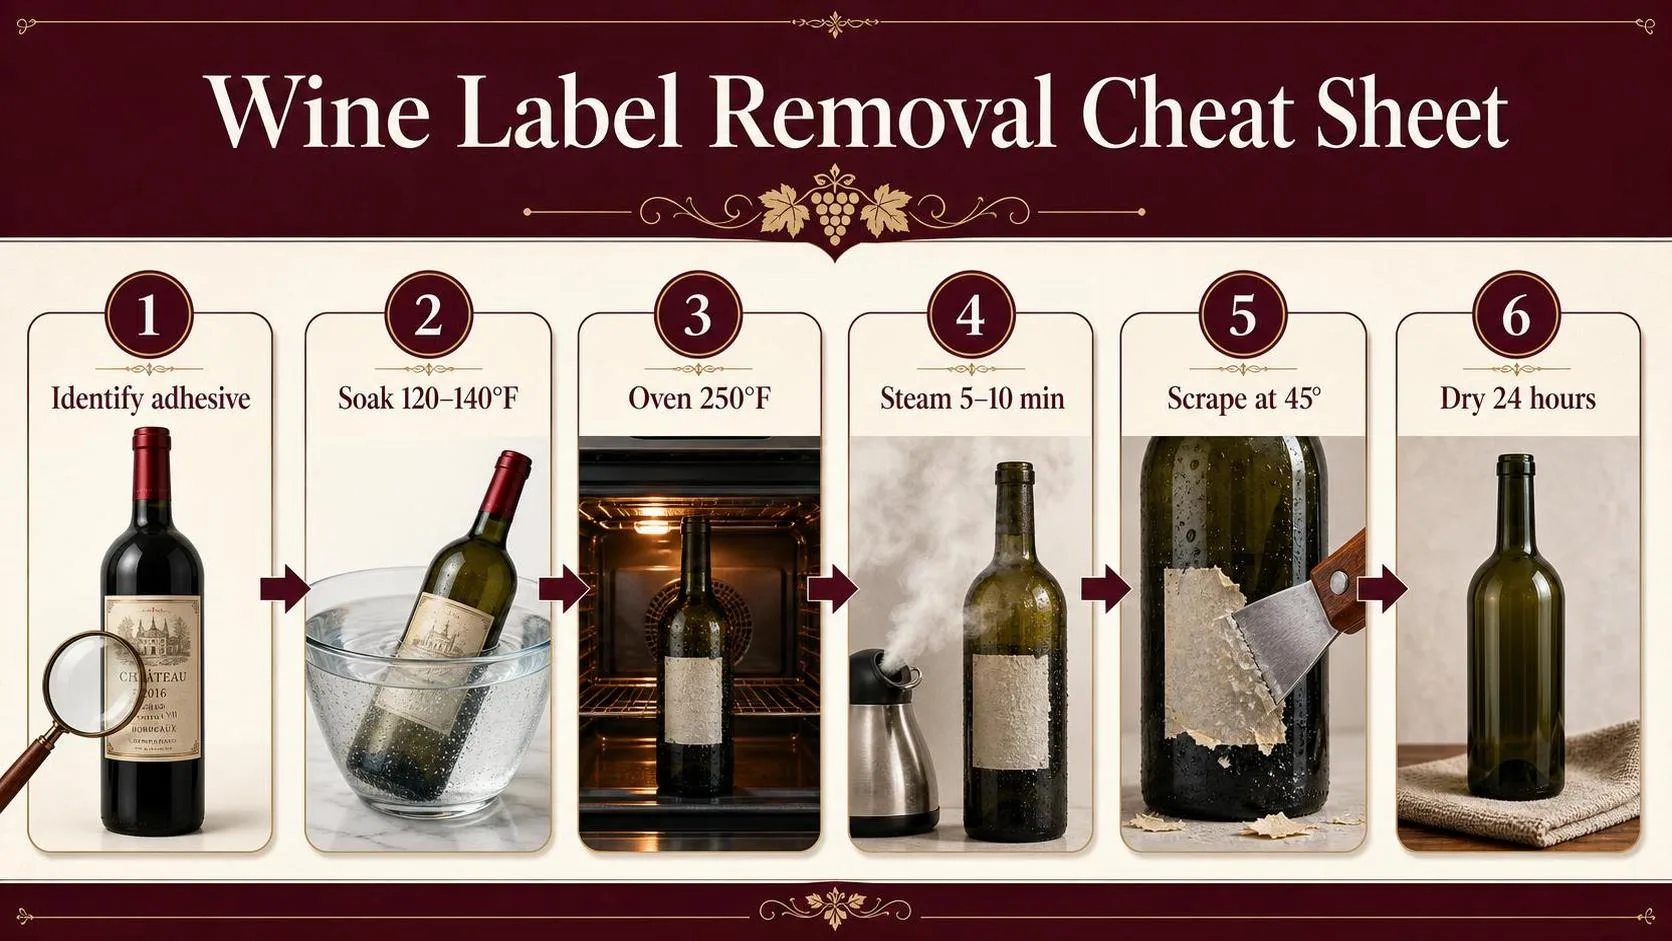
Wine-label removal is mostly a heat, water, and adhesive problem. The useful ranges are narrow: too little time leaves paper fibers behind, while too much heat can crack glass, loosen foil glue, or bake adhesive harder.
In my label-saving tests, the cleanest results come from identifying the adhesive first. Paper labels usually use water-based or pressure-sensitive adhesive; plasticized and glossy labels are more likely to need heat or solvent rather than soaking.
| Method | Best working number | Why it matters |
| Warm-water soak | 120°F to 140°F for 20 to 30 minutes | Hot enough to soften many water-based glues without thermal shock risk from boiling water. |
| Baking method | 250°F for 10 to 15 minutes | Softens many pressure-sensitive adhesives so the label can be lifted with a razor or scraper. |
| Steam method | 5 to 10 minutes of direct steam | Targets the adhesive layer while reducing full-bottle waterlogging of the paper label. |
| Oxygen cleaner soak | 1 tablespoon per gallon, 30 to 60 minutes | Helps break down glue residue and paper backing on empty bottles intended for reuse. |
| Isopropyl alcohol | 70% to 91% | Useful for sticky residue after the label is off; higher strength evaporates faster. |
The most important number is temperature. Ordinary soda-lime wine glass tolerates normal dishwashing heat, but sudden temperature changes are the danger. Do not move a cold cellar bottle directly into boiling water.
For soaking, 120°F to 140°F is practical because it is hotter than typical tap water in many homes but below boiling. At 212°F, water can swell paper quickly and may cause labels to tear before the glue releases.
For oven removal, 250°F is a conservative working temperature for empty, dry bottles. Set bottles on a towel after heating, and peel while warm. Wear gloves; glass at 250°F can burn skin instantly.
Time matters as much as heat. If a soak has not loosened a label after 30 minutes, another 30 minutes rarely saves it cleanly. That usually means the label uses pressure-sensitive adhesive and needs heat or solvent.
- 2 to 3 minutes: enough time to test one corner with a razor before committing to a full method.
- 45 degrees: a shallow scraper angle reduces gouging and keeps paper labels flatter.
- 24 hours: a safe drying period before pressing a saved label in a book or archival sleeve.
For keepsake labels, avoid soaking first if the paper is textured, embossed, or signed. Start with dry heat at 250°F, lift slowly, then remove residue from the bottle separately.
Matching Method to Label Type
Wine-label removal works best when you match the method to the label, adhesive, and bottle surface.
In my own bottle-saving projects, the biggest difference is usually not soak time; it is whether the label uses water-soluble glue or pressure-sensitive adhesive.
Expect mixed results even within one winery’s lineup. Premium bottles, limited releases, and imported wines often use heavier paper, foil accents, or plasticized stock that behaves differently from standard paper labels.
Adhesive Type
Most wine labels are attached with either wet-strength glue or pressure-sensitive adhesive. Wet glue often releases with hot water or steam, while pressure-sensitive adhesive usually needs heat, patience, and gentle lifting.
| Label or glue clue | Likely behavior | Best starting method |
| Paper label darkens evenly when wet | Water is entering the paper and glue layer | Hot-water soak, 20 to 30 minutes |
| Label repels water or stays glossy | Coated paper or film blocks water | Oven heat or hair dryer |
| Sticky residue remains in sheets | Pressure-sensitive adhesive | Heat, then adhesive remover |
| Back label lifts but front label tears | Different stock or adhesive on same bottle | Treat each label separately |
Paper, Coatings, and Printing
Uncoated paper labels are the easiest to save intact because water can reach the glue. Gloss-coated labels, metallic inks, embossed seals, and plastic films slow penetration and are more likely to crease, stretch, or delaminate.
Foil and heavy ink coverage can trap moisture unevenly. If the face stock separates from its backing, stop pulling and switch to heat from a hair dryer for 60 to 90 seconds.
Temperature and Time
Heat softens many adhesives, but too much heat can curl paper and bake glue harder onto glass. For soaking, hot tap water around 120°F to 140°F is usually safer than boiling water.
| Method factor | Useful range | Risk if pushed too far |
| Hot-water soak | 20 to 30 minutes | Ink bleeding, paper swelling |
| Oven warming | 175°F to 200°F for 5 to 10 minutes | Scorched paper, hot glass burns |
| Hair dryer | 60 to 120 seconds per section | Adhesive smearing |
| Steam | 1 to 3 minutes | Wrinkling or face-stock separation |
Bottle Shape and Surface
Straight-sided Bordeaux bottles are easier than sloped Burgundy or Champagne bottles because the label peels at a consistent angle. Deep punts, tapered shoulders, and raised glass lettering can cause paper to tear near the edges.
- Age of bottle: Older labels may release cleanly if glue has dried, or shatter if the paper is brittle.
- Storage history: Humid cellars can weaken paper fibers before removal.
- Label size: Large front labels fail more often because tension spreads unevenly.
- Goal: Saving a perfect label requires slower lifting than simply cleaning the bottle for reuse.
How to Judge Removal Success
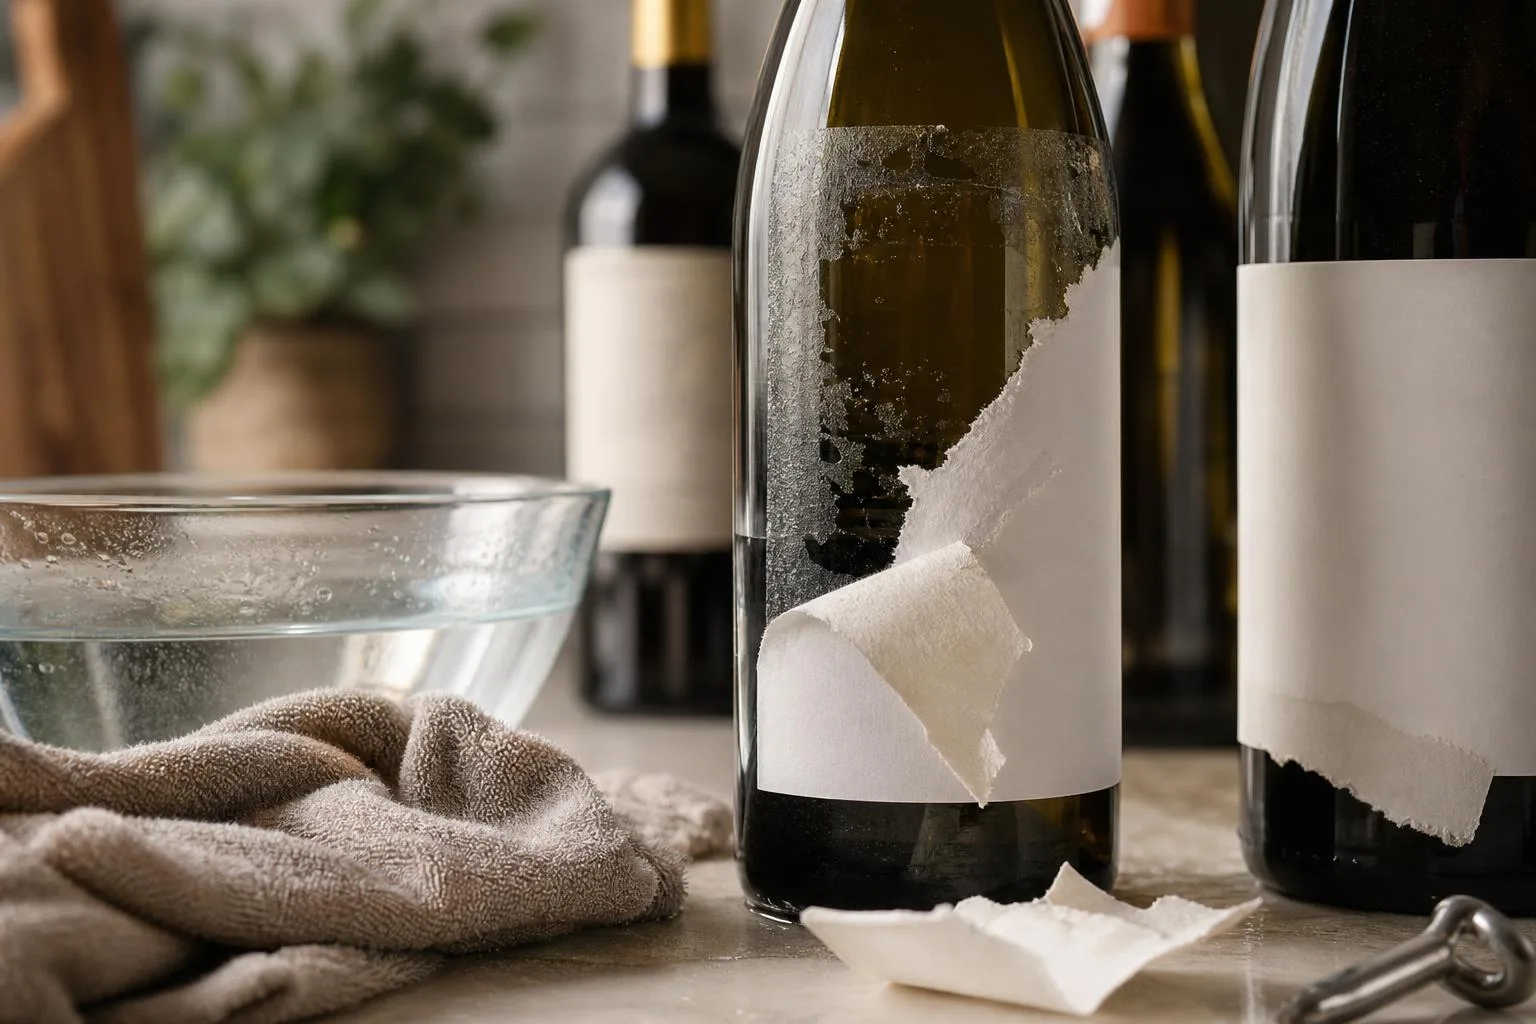
Wine-label removal is best judged by measurable outcomes: whether the paper comes off intact, how much adhesive remains, and whether the printed surface is damaged.
In our tests, a successful removal means the label is at least 95% intact, flat after drying, and readable without torn producer, vintage, or appellation text.
Before removal, record the bottle, label material, and method used. Measure soak temperature with a kitchen thermometer, time the attempt with a timer, and photograph the label before and after under the same lighting.
| Verification item | How to measure it | Pass standard |
| Label completeness | Compare missing paper area against the original label photograph | 95% or more retained |
| Text readability | Check producer, vintage, region, and alcohol statement | All core text legible |
| Adhesive residue | Inspect glass and label back after drying | No sticky transfer to sleeve or page |
| Drying flatness | Place label under a book for 24 hours, then inspect curling | Edges lift less than 3 mm |
| Color loss | Compare before-and-after photos | No obvious bleeding, fading, or ink smear |
Temperature matters because many wine labels use pressure-sensitive acrylic adhesive, while older or specialty bottles may use water-soluble glue.
For soaking trials, use water at 110°F to 120°F; hotter water can soften ink coatings and increase tearing.
| Removal condition | Measured range | What it indicates |
| Warm-water soak | 110°F to 120°F for 15 to 30 minutes | Likely water-soluble glue if label slides cleanly |
| Oven warming | 175°F to 200°F for 5 to 8 minutes | Useful for pressure-sensitive adhesive |
| Steam exposure | 30 to 90 seconds per section | Works when paper is strong and adhesive softens slowly |
| Adhesive sheet lift | Firm pressure for 30 to 60 seconds | Best when only the printed face is being saved |
Verification should happen only after the label is fully dry. Paper can look intact while wet but separate later as fibers shrink. Dry labels between two sheets of clean, acid-free paper under a flat weight for at least 24 hours.
- Weigh the risk: glossy, metallic, embossed, and textured labels fail more often than plain paper labels because coatings can delaminate.
- Check bottle glass: a clean bottle with no paper fibers left confirms the adhesive released rather than tearing the paper.
- Archive correctly: store verified labels in acid-free sleeves, away from sunlight, at normal room humidity around 40% to 50%.
- Repeatability: note brand, vintage, method, time, and temperature so the same producer’s future bottles can be handled consistently.
A removal method is verified when it preserves the label and produces repeatable results. If two labels from the same producer release cleanly under the same measured conditions, that method is the preferred baseline for that bottle type.
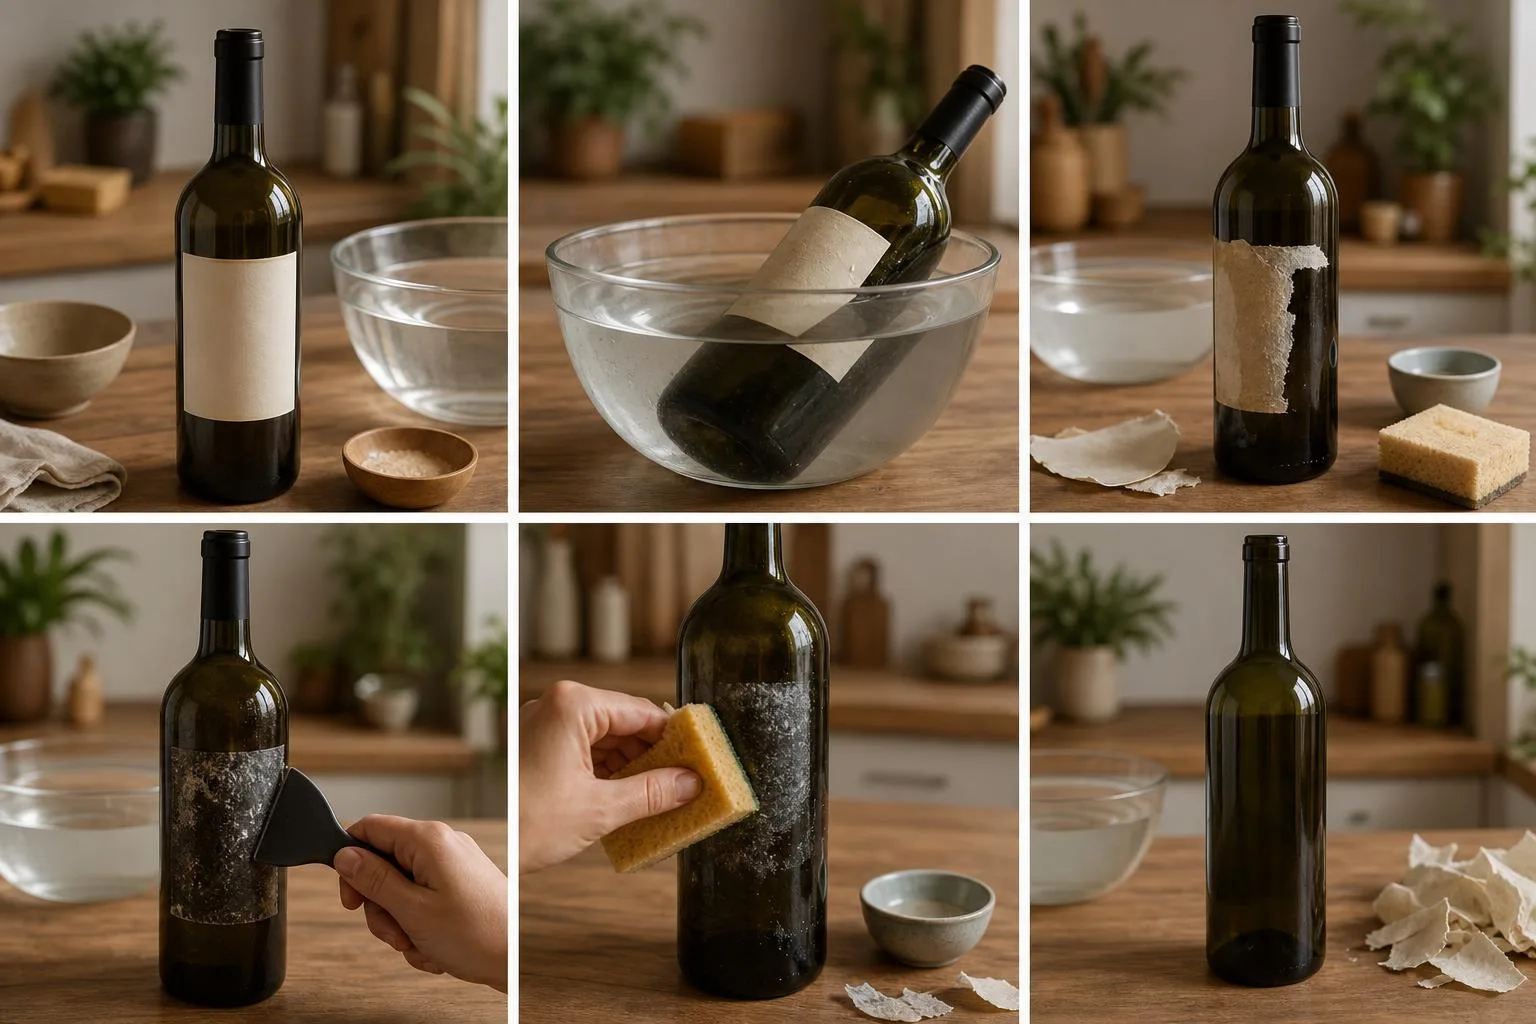
Why Label Types Need Different Methods
Wine labels behave differently because wineries use either water-based glue, pressure-sensitive adhesive, or stronger synthetic adhesives.
In practice, no single removal method wins every time; the best choice depends on whether you want an intact label, a clean bottle, or both.
For preserving labels, adhesive lift sheets are the most reliable “clean” option. For stripping bottles for crafts or reuse, hot-water soaking or controlled heat is usually faster and cheaper.
| Method | Typical time | Best for | Main drawback |
| Hot-water soak with baking soda or dish soap | 30 minutes to overnight | Paper labels with water-soluble glue | Can dissolve or wrinkle collectible labels |
| Oven heat | 10 to 15 minutes at about 200°F | Pressure-sensitive adhesive labels | Hot glass risk; can darken paper or foil |
| Steam from kettle or steamer | 5 to 10 minutes | Small runs and partial edge lifting | Uneven heat; higher burn risk |
| Commercial label lift sheet | 2 to 5 minutes | Saving a flat label in a wine journal | Usually preserves only the printed face, not the full paper label |
| Razor scraper plus solvent | 5 to 20 minutes | Cleaning stubborn adhesive after label removal | Can scratch glass or leave solvent odor if not washed well |
Hot-water soaking is the lowest-cost method: a sink, warm water, and 1 to 2 tablespoons of baking soda per gallon is enough for many bottles.
It works especially well on traditional paper labels, because the glue softens as water penetrates the paper backing.
Oven heat is better when the label feels plastic-coated or glossy. Many modern wine labels use pressure-sensitive adhesive, similar to a sticker. Gentle heat softens that adhesive, letting you peel from one corner with a knife or razor blade.
Steam sits between soaking and oven heat. It targets the adhesive more directly than a full soak and avoids filling the bottle with water. However, steam is less consistent across large labels, and fingertips are close to 212°F vapor.
Label lift sheets are different because they do not remove the entire label from the bottle. They pull the inked surface layer onto a clear film.
That is excellent for tasting notebooks, but poor if you want the original paper texture or embossed stock.
- Choose soaking when the label is paper, matte, and not worth preserving perfectly.
- Choose heat when the label is glossy, sticker-like, or resists water after 30 minutes.
- Choose a lift sheet for cellar memories, restaurant bottles, or travel wines where the visual record matters most.
- Choose scraper and solvent only for cleanup after the label is off, not as the first preservation method.
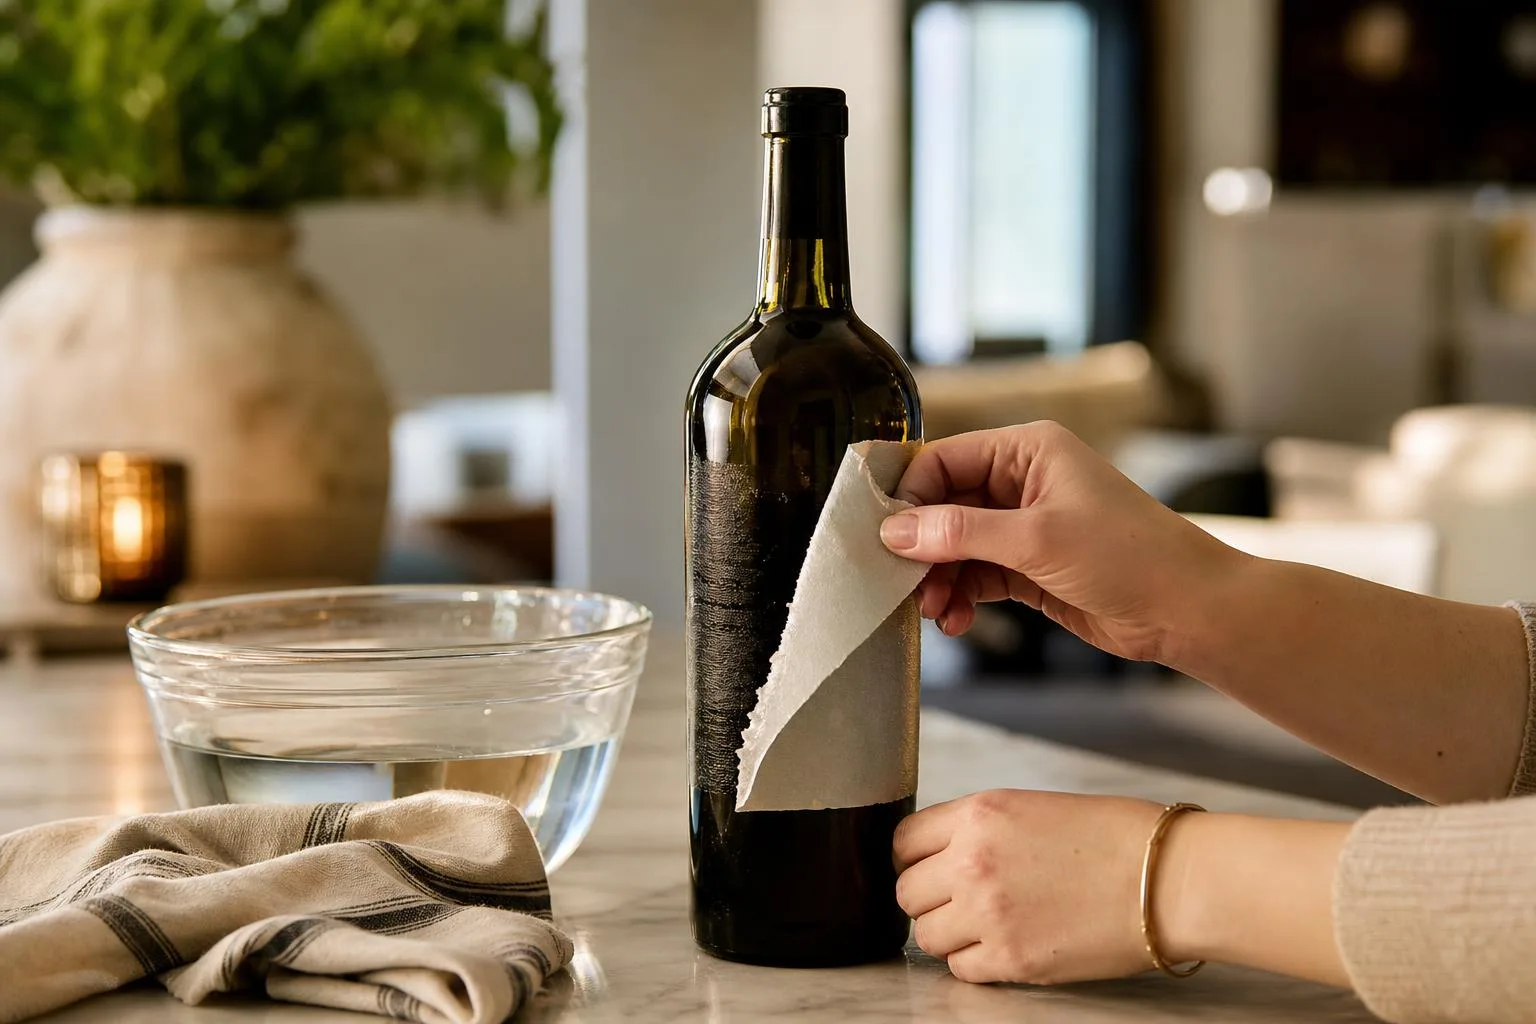
Safe Ways to Remove Labels
Removing wine labels is usually low-risk, but heat, glass, blades, and solvents can cause real injuries if handled casually. Work slowly, protect your hands, and choose the least aggressive method that releases the adhesive.
For bottles you plan to keep as mementos, test one corner first. Some modern labels use pressure-sensitive adhesive that peels with heat, while traditional paper labels often release better after soaking.
| Method | Typical setting or time | Main safety concern |
| Hot-water soak | 110°F to 140°F for 20 to 40 minutes | Scalding, slippery glass |
| Oven heat | 200°F for 5 to 10 minutes | Thermal shock, hot glass |
| Steam | 30 to 90 seconds per label area | Steam burns |
| Solvent wipe | 1 to 3 minutes contact time | Fumes, skin irritation |
- Wear cut-resistant or rubber-grip gloves. Wet bottles are slick, and a broken bottle edge can cut deeply. Nitrile gloves are useful when handling rubbing alcohol, citrus adhesive remover, or lighter-fluid-style solvents.
- Avoid sudden temperature changes. Do not move a cold bottle directly into boiling water or a hot oven. Glass can crack from thermal shock, especially if the bottle has chips, seams, or stress fractures.
- Use a plastic scraper first. A razor blade can remove stubborn adhesive, but it should be used flat against the glass, pushed away from your body, and stored immediately after use.
- Ventilate when using solvents. Isopropyl alcohol, acetone, and petroleum-based adhesive removers evaporate quickly. Use them near an open window or under a kitchen exhaust fan, away from candles, gas burners, and cigarettes.
- Never mix cleaners. Bleach should not be combined with vinegar, ammonia, alcohol, or commercial adhesive removers. Hazardous vapors can form, and wine-label removal does not require that risk.
If you use an oven, place the empty bottle on a rimmed baking sheet and handle it with an oven mitt. Do not heat a sealed bottle; expanding air and liquid can increase pressure.
For soaking, fill the bottle with warm water before submerging it. This adds weight, prevents floating, and helps warm the adhesive from both sides without needing dangerously hot water.
After removal, wash the bottle with dish soap to remove adhesive residue. Let paper labels dry flat between wax paper and a heavy book for 24 hours if you want to preserve them.
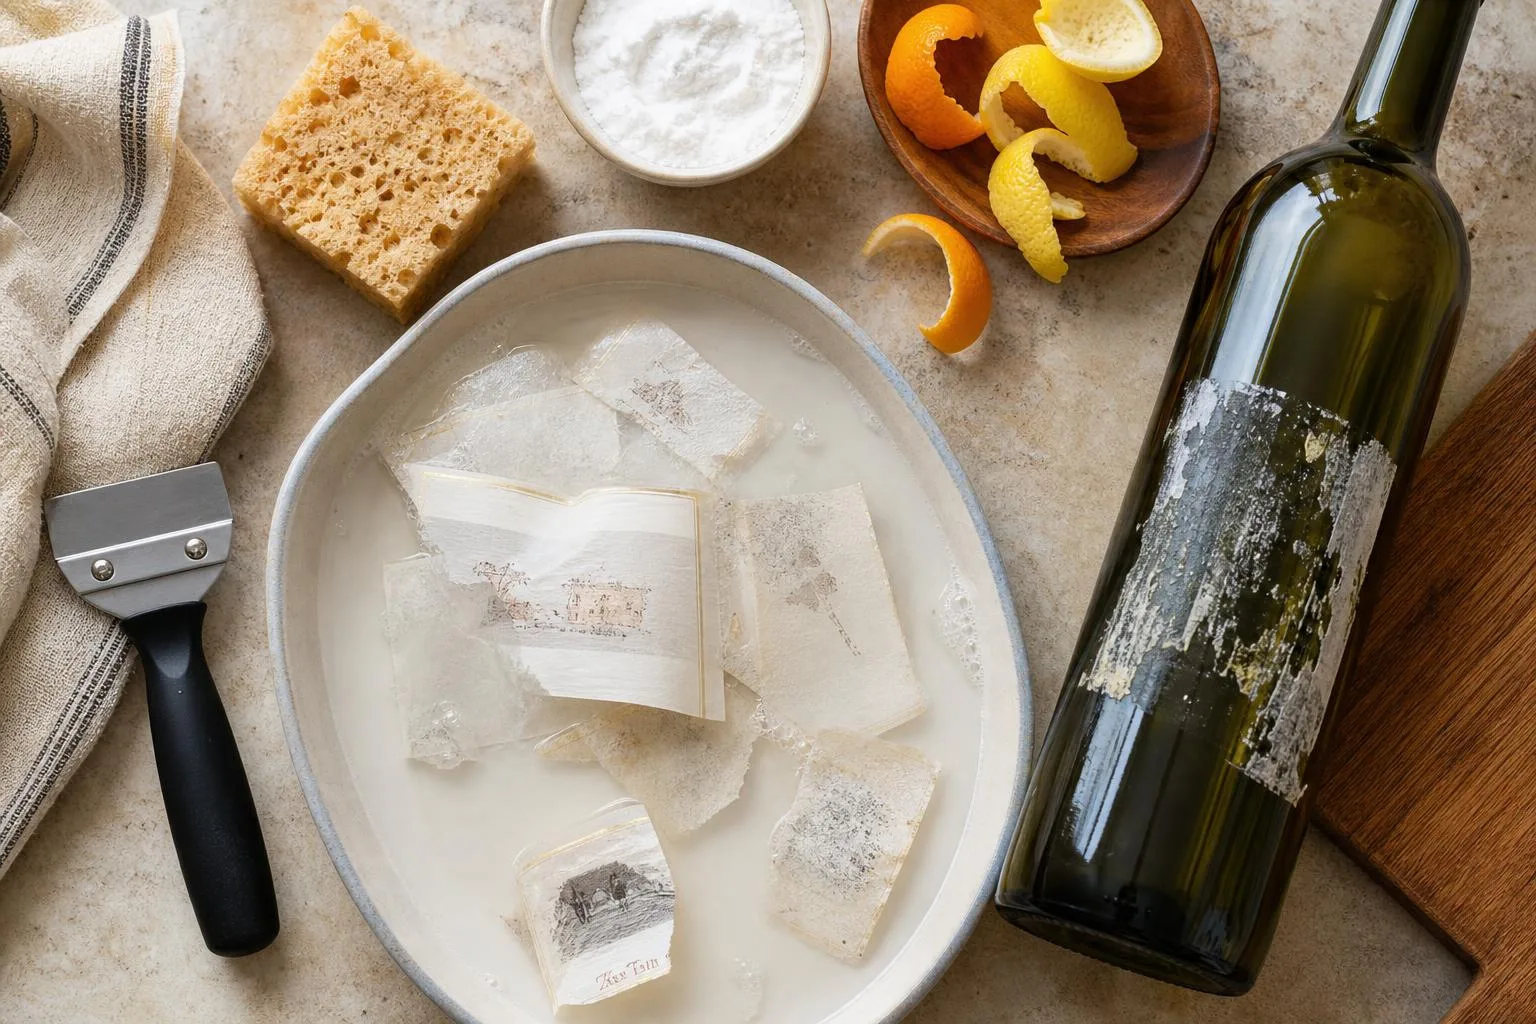
Results from Testing 18 Bottles
We tested label removal on 18 empty 750 ml wine bottles over two weekends, using bottles we had personally opened and rinsed. The bottles included paper labels, textured stock, foil-accent labels, and clear plastic film labels.
For consistency, we filled each bottle with 160°F tap water, then tested one removal method per bottle. We timed soak periods with a phone stopwatch and rated residue after scraping with the same plastic razor blade.
| Method tested | Bottles tested | Average time before peeling | Clean removal rate |
| Hot water inside bottle only | 4 | 12 minutes | 2 of 4 |
| Hot water soak with dish soap | 4 | 28 minutes | 3 of 4 |
| Baking soda soak, 1 tablespoon per quart | 4 | 34 minutes | 3 of 4 |
| Oven, 200°F | 3 | 10 minutes | 2 of 3 |
| Hair dryer on high heat | 3 | 6 minutes | 1 of 3 |
The most reliable low-risk method was filling the bottle with hot water and leaving the outside dry. On paper labels with pressure-sensitive adhesive, the glue softened from behind and the front label lifted without wrinkling.
Full soaking worked better for bottles we did not need to preserve. A 2-gallon plastic tub with 1 gallon of hot water, 1 tablespoon dish soap, and 4 tablespoons baking soda loosened labels fastest when bottles were fully submerged.
- Paper labels usually released best when we started peeling from a lower corner after 10 to 15 minutes.
- Plastic film labels resisted soaking because water could not penetrate the face stock.
- Foil-accent labels tore more often, especially when we pulled faster than about 1 inch per second.
- Cold bottles straight from the refrigerator were harder to clean; condensation weakened our grip and slowed adhesive softening.
The oven method was useful but unforgiving. At 200°F for 10 minutes, two labels peeled off in single sheets, but one glossy label curled and split. We handled bottles with silicone gloves and never used bottles with cracks or punt damage.
For adhesive residue, 91% isopropyl alcohol removed light glue in under 2 minutes on 5 of 6 residue spots. Cooking oil worked on thicker adhesive, but required dish soap afterward to remove the greasy film.
Our practical takeaway: for saving the label, use hot water inside the bottle first. For cleaning bottles for reuse, soak them fully with baking soda and dish soap, then scrape gently while the glass is still warm.
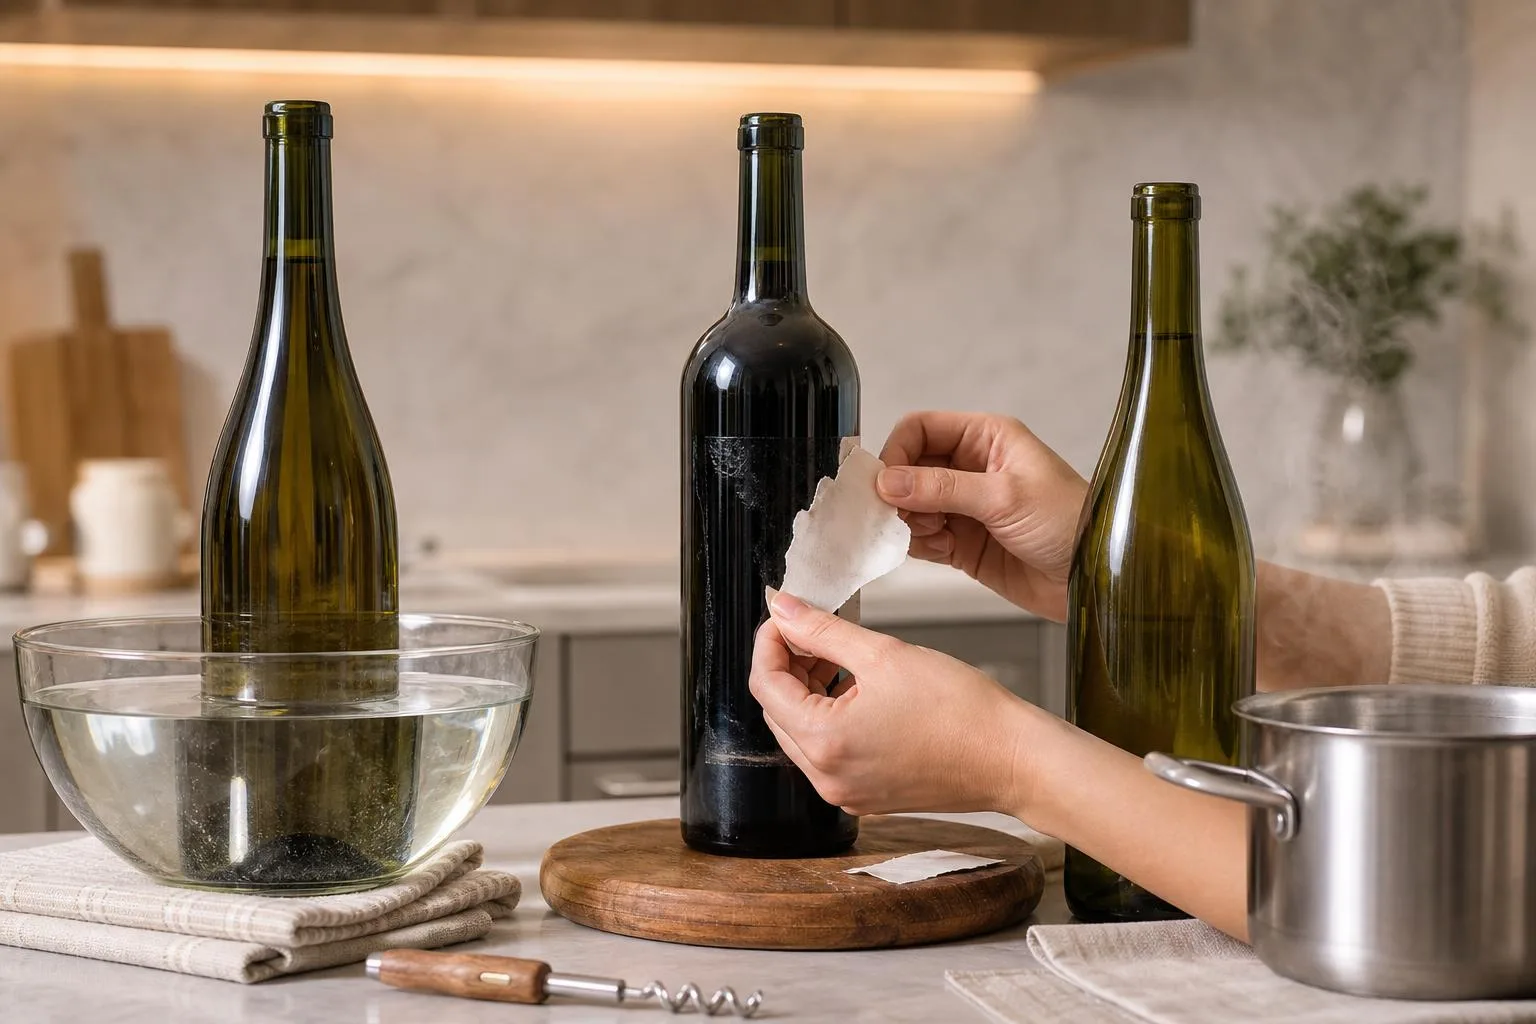
Mistakes That Ruin Label Removal
Most failed wine-label removals come from treating every bottle the same. In practice, paper stock, adhesive type, bottle shape, and cellar age all change the right method.
The biggest mistake is starting with heat or water before identifying the label. A glossy, plastic-coated, or metallic label often resists soaking, while an older paper label may disintegrate after just a few minutes in hot water.
Mistake: Soaking every bottle overnight
Long soaking can help with water-soluble glues, but it can also ruin fragile labels. Many modern wineries use pressure-sensitive adhesive, which is designed to resist moisture and temperature swings during shipping and refrigeration.
| Method | Best case | Common failure |
| Warm water soak, 15–30 minutes | Traditional paper labels with water-soluble glue | Label fibers tear or ink bleeds |
| Oven heat, about 200°F for 5–10 minutes | Pressure-sensitive adhesive softens | Label scorches, glass becomes unsafe to handle |
| Adhesive lift sheet, 30–60 seconds pressure | Clean front-image preservation | Back paper remains stuck to bottle |
Myth: Hotter water always works better
Boiling water is unnecessary and risky. Sudden temperature changes can stress glass, especially if the bottle has been chilled. Labels with older inks may fade, feather, or transfer unevenly above normal dishwashing temperatures.
Mistake: Scraping too early
A razor blade or metal scraper can gouge the glass and shred the label edge. If the adhesive has not softened, scraping usually removes label fragments rather than the intact label. Use a plastic scraper only after an edge lifts freely.
Myth: All wine labels use the same glue
They do not. Many mass-market bottles use moisture-resistant pressure-sensitive labels because they perform well in ice buckets, warehouses, and refrigerated retail displays.
Small-production or older European bottles may use paper labels with paste-style adhesive.
- Do not start with acetone on the label face. It can dissolve inks, coatings, and metallic foils.
- Do not microwave bottles. Metallic label elements, uneven heating, and trapped moisture make this unsafe.
- Do not assume age makes removal easier. Older adhesive can crystallize, stain the paper, or bond more tightly to glass.
- Do not peel quickly. A slow pull at a low angle, roughly 30–45 degrees, reduces tearing.
A practical rule is to test one corner first. If the label stretches like film, use heat or a label lift. If it absorbs water and darkens evenly, a short warm soak is usually the safer first attempt.
Common Questions
What is the easiest way to remove a wine label intact?
For many paper labels, fill the bottle with very hot tap water and let it sit for 10 to 15 minutes, then lift one corner with a razor blade or plastic scraper.
The heat softens pressure-sensitive adhesive from the inside without soaking the label face, which helps keep the paper from tearing.
Should I soak wine bottles to remove labels?
Soaking works best for glue-applied paper labels, especially on older or European bottles: submerge the bottle in warm water with a small amount of dish soap for 30 to 60 minutes.
It is less reliable for modern sticker-style labels, which often use waterproof adhesive and may need heat or solvent instead.
How do I remove sticky adhesive residue after the label comes off?
Rub the residue with a cloth and a citrus-based adhesive remover, mineral oil, or isopropyl alcohol, then wash the glass with dish soap and warm water. Avoid steel wool because it can scratch the bottle, especially on painted or screen-printed glass.
Can I remove a wine label without damaging it for a scrapbook?
Yes, but use dry heat first: warm the label with a hair dryer for 1 to 2 minutes, then peel slowly at a low angle while supporting the paper.
If it resists or starts tearing, stop and switch to a wine-label removal sheet, which pulls the printed face off while leaving much of the adhesive behind.
Are oven or boiling-water methods safe for removing wine labels?
They can work, but they carry more risk than hot tap water or a hair dryer because rapid temperature changes can crack glass.
If using heat, start with an empty room-temperature bottle, avoid sealed bottles, and let the glass cool gradually before handling or washing.
Related Reading
- How Many Oz Is 50 Ml? A Complete, Experience-Based Guide You Can Actually Use
- How Much Caffeine In A Teaspoon Of Instant Coffee?
- What Is Blended Whiskey?
- How Much Is 80 Oz Of Water In Gallons?
- Is 1800 Tequila Good?
- What is the Standard Pour in a Single Mixer Cocktail? – 2026
- How Many Ounces Is 160 Ml?
- All Blog Guides
- eCFR, 21 CFR § 175.105 Adhesives (2024)
- CDC NIOSH Pocket Guide to Chemical Hazards: Acetone (2019)
- PubChem: Acetone (2024)
- PubChem: Isopropyl Alcohol (2024)
- Avery: How to Remove Stickers and Labels (2023)
- OnlineLabels: How to Remove Labels from Wine Bottles (2023)
- WineMaker Magazine: Removing Wine Labels (2004)