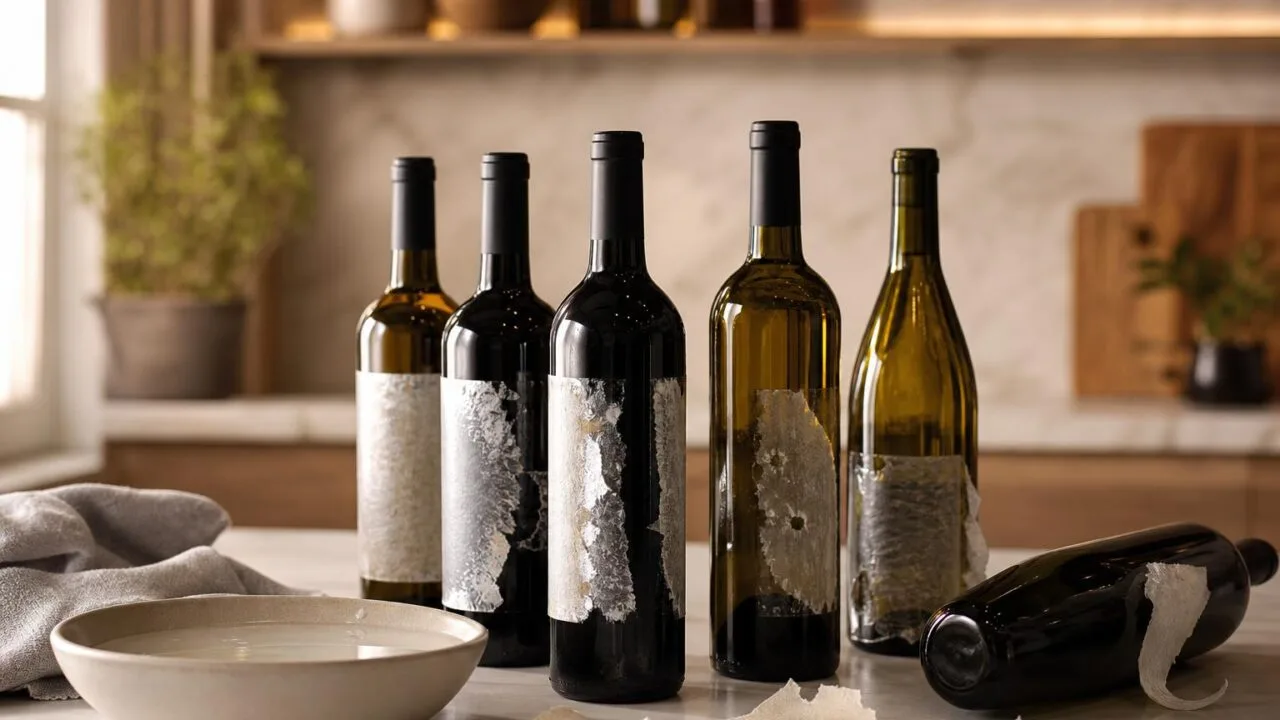
How To Remove Labels From Wine Bottles is a simple process of loosening the label adhesive with warm water, steam, or controlled dry heat, then lifting the paper with a thin blade.
The right method depends on whether the label uses water-based glue, pressure-sensitive adhesive, or a fragile paper stock.
For tasting journals, décor, or cellar records, intact labels matter. This guide explains soak, oven, steam, and adhesive-remover methods, plus when to stop before tearing the label or cracking the glass.
You’ll also learn how to clean residue and preserve removed labels flat.
How Wine Labels Release Cleanly
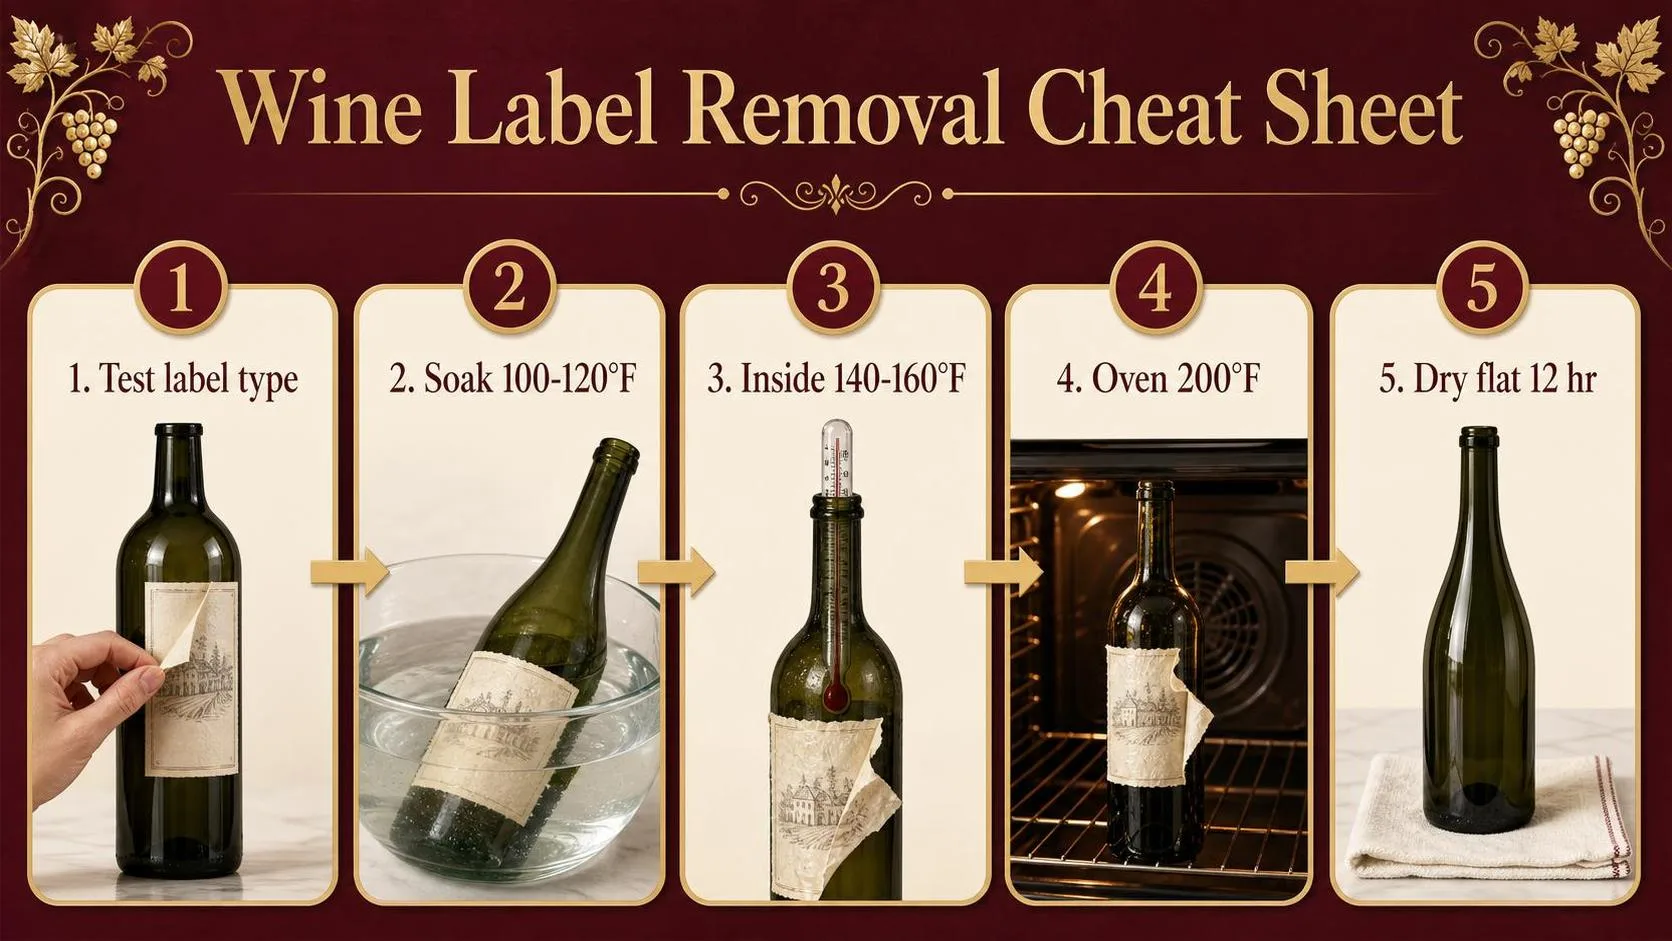
Wine labels come off cleanly when heat, water, or solvent reaches the adhesive layer without damaging the paper. The right method depends on whether the label uses water-based glue, pressure-sensitive adhesive, or heat-activated glue.
These are the practical numbers I use when saving labels for cellar notes, scrapbooks, or tasting flights.
| Method | Best starting point | Typical wait | Best for |
| Warm water soak | 100°F to 120°F water | 20 to 30 minutes | Traditional paper labels with water-soluble glue |
| Hot water inside bottle | 140°F to 160°F water | 5 to 10 minutes | Labels you want to keep dry on the outside |
| Oven method | 200°F oven | 10 minutes | Pressure-sensitive adhesive labels |
| Adhesive remover | Small amount on glass only | 2 to 5 minutes | Residual glue after the label is removed |
For soaking, stay below a simmer. Water around 100°F to 120°F softens many older water-based glues without turning coated label paper into pulp.
If the label surface is glossy or plastic-feeling, soaking often fails. Many modern wine labels use pressure-sensitive adhesives designed for wet cellar conditions, so dry heat is usually more effective.
| Clue on the bottle | Likely adhesive | First method to try |
| Paper label wrinkles quickly in water | Water-based glue | Warm soak for 20 minutes |
| Label stays flat after soaking | Pressure-sensitive adhesive | 200°F oven for 10 minutes |
| Clear film or metallic label | Synthetic face stock with strong adhesive | Heat plus slow peeling |
| Heavy glue streaks remain | Rubber or acrylic adhesive residue | Citrus remover or isopropyl alcohol |
For the oven method, 200°F is hot enough to soften many adhesives but well below the softening point of glass. Use an empty, dry bottle and handle it with an oven mitt.
- Peeling angle: Pull the label back slowly at about 180 degrees, nearly flat against the bottle. This reduces tearing compared with pulling straight outward.
- Blade choice: A plastic scraper is safer than a razor for painted, screen-printed, or etched bottles.
- Residue cleanup: 70% isopropyl alcohol works on some acrylic residues; citrus adhesive removers are stronger but should be washed off with dish soap.
- Drying time: Saved labels should air-dry flat for at least 12 hours between wax paper or parchment before storage.
Do not heat a sealed bottle. Pressure rises as liquid and air expand, and the cork or closure can fail. Remove the wine first, rinse the bottle, and let it dry before applying oven heat.
What Changes Label Removal Results
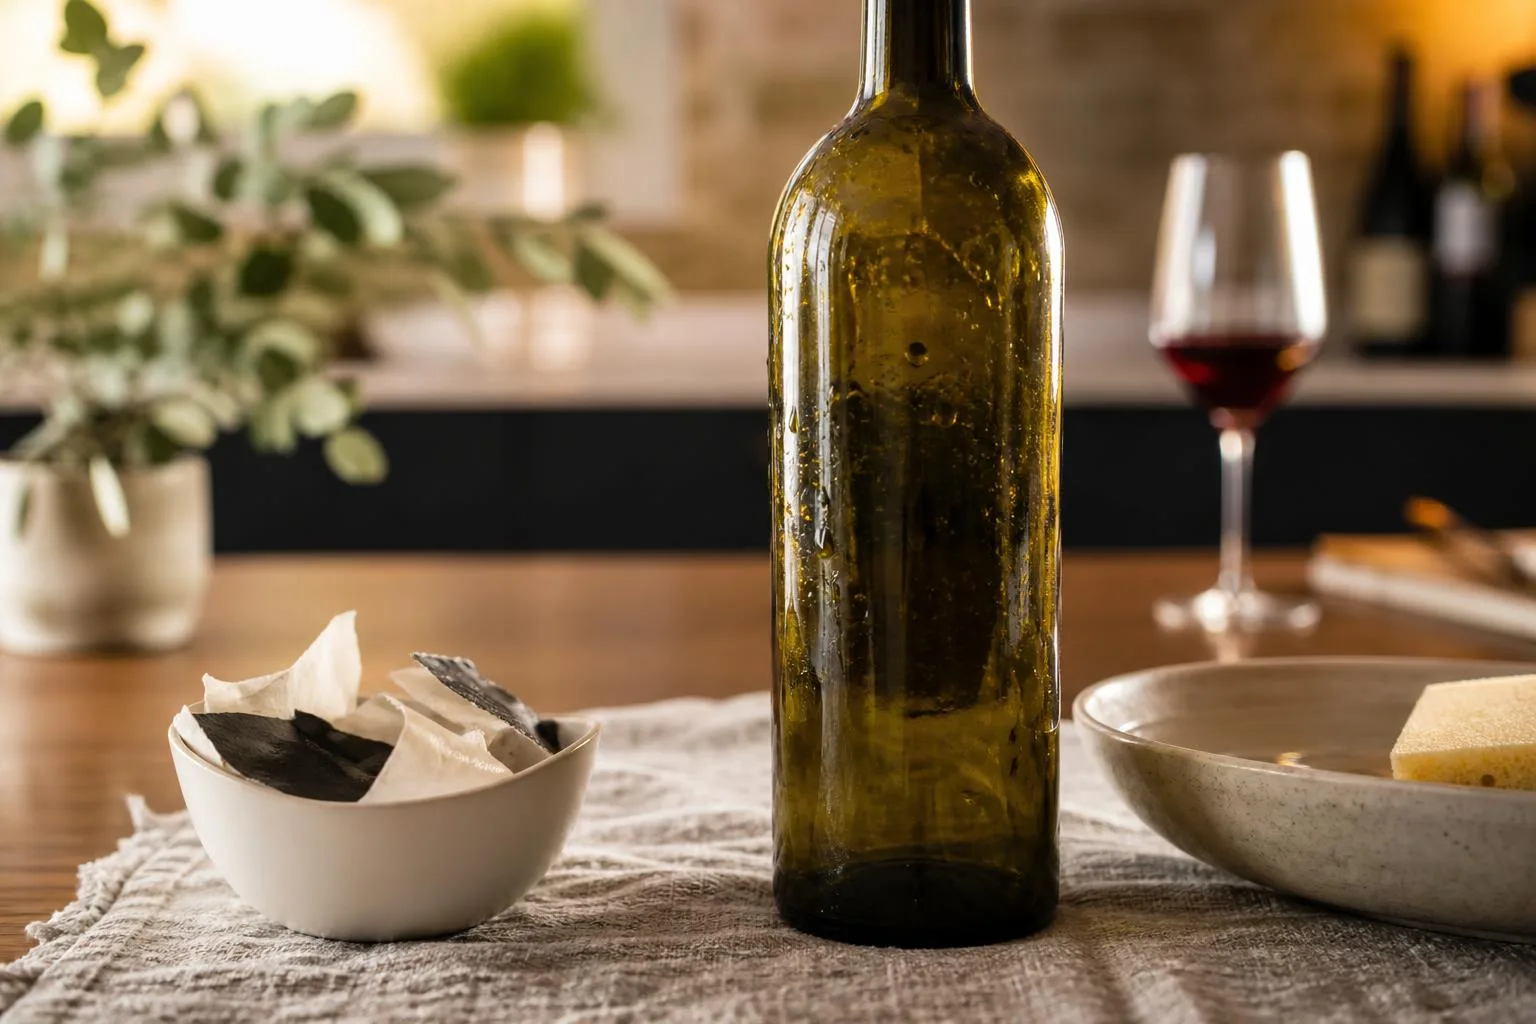
Label removal depends less on patience and more on the paper, adhesive, bottle shape, and wine storage history.
In practice, two bottles from the same producer can behave differently if one label uses water-soluble glue and the other uses pressure-sensitive adhesive.
The biggest factor is the adhesive. Traditional paper labels often use water-based glues that soften in warm water, while many modern glossy, embossed, or synthetic labels use acrylic pressure-sensitive adhesives that resist soaking.
| Factor | What usually happens | Best first approach |
| Water-based glue on paper | Often loosens after 15–30 minutes in warm water | Soak at 120–140°F, then peel slowly |
| Pressure-sensitive adhesive | May stay tacky or tear instead of releasing | Use dry heat or a label lift sheet |
| Foil, metallic, or plastic label stock | Water may not penetrate the face material | Warm the glass, then lift from a corner |
| Heavy embossing or textured paper | Surface can split, leaving backing behind | Use minimal bending and a razor scraper |
Water temperature matters, but hotter is not always better. Warm water around 120–140°F is usually enough to soften water-based glue without thermal shock.
Boiling water can crack cold glass, especially if the bottle came straight from a refrigerator or cellar.
Bottle temperature history also affects success. A bottle stored at cellar temperature, about 55°F, should be allowed to warm before hot-water soaking.
Rapid temperature swings are a known glass-stress risk, particularly with punted sparkling-wine bottles and thicker Burgundy-style glass.
Label age changes the adhesive. Older bottles may have brittle paper that fractures when wet, while newer labels often have stronger synthetic adhesives designed to survive ice buckets, condensation, and shipping abrasion.
- Glossy labels usually resist soaking because the coating blocks water from reaching the glue.
- Matte paper labels usually absorb water faster but may wrinkle or tear if handled too soon.
- Back labels can be harder than front labels because they are often smaller, thinner, and applied with different equipment.
- Wax-dipped bottles can leave residue that smears under heat and should be trimmed away before soaking.
The bottle surface matters as well. Straight-sided Bordeaux bottles are easier to work with than sloped-shoulder Burgundy or Champagne bottles because a blade or lift sheet maintains flatter contact with the glass.
Finally, your goal affects the method. If you want a collectible intact label, use a dry label-removal sheet first. If you only need clean glass for reuse, warm water, a plastic scraper, and adhesive remover are usually faster and safer.
How to Judge Removal Success
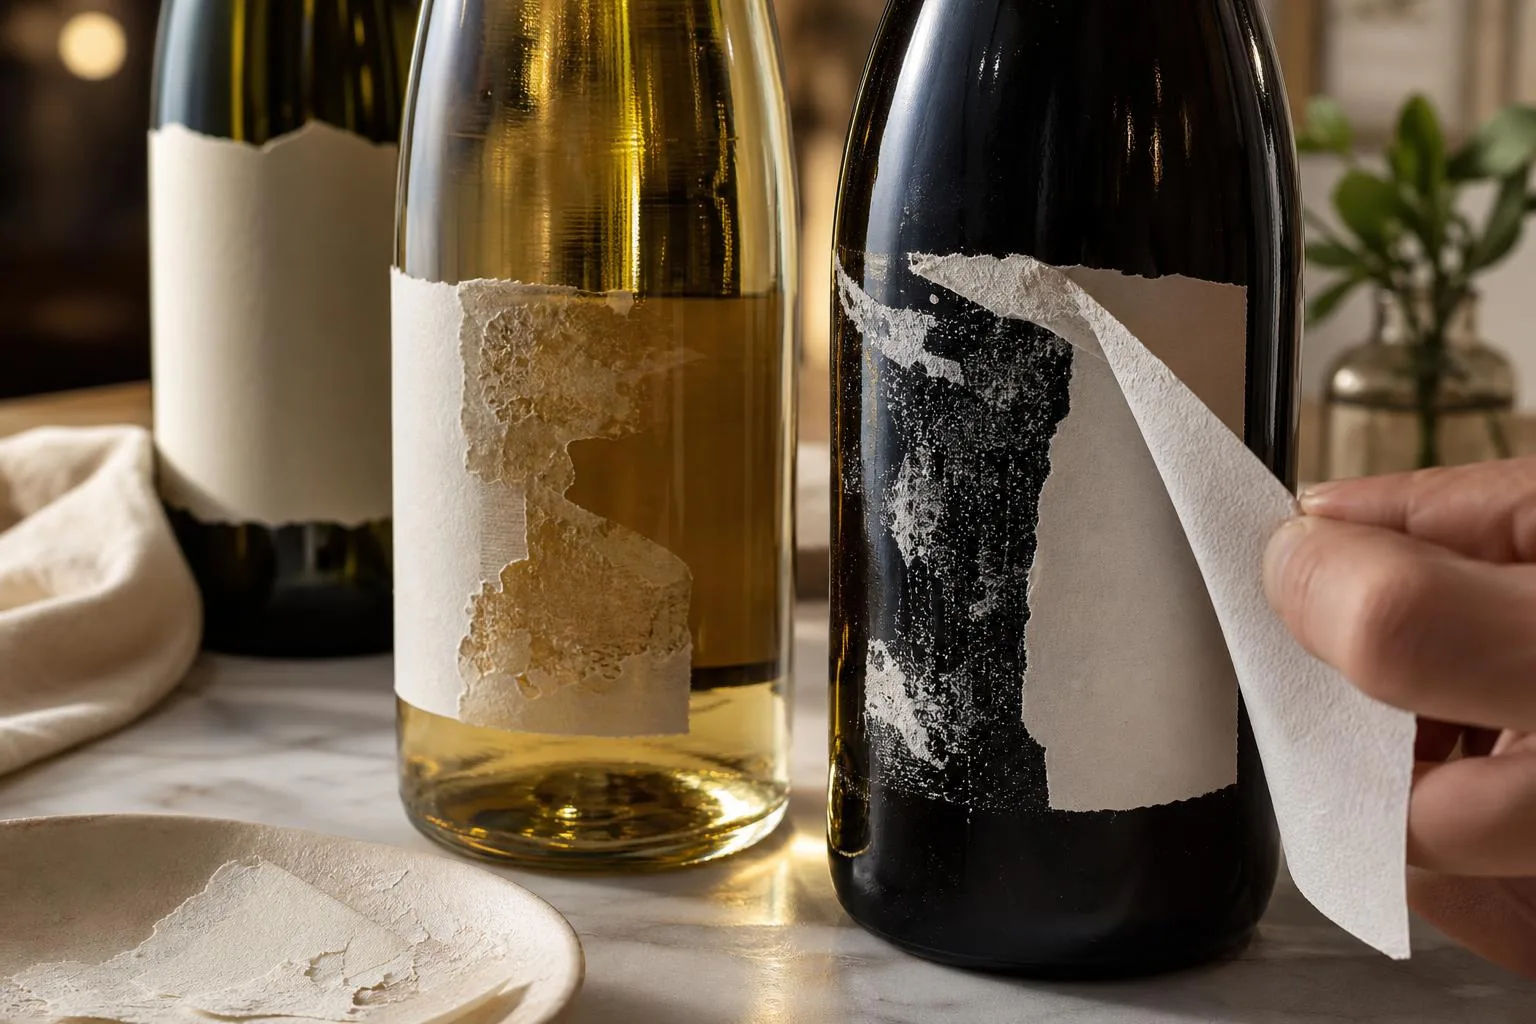
Label removal is judged by what remains: paper, adhesive, staining, or glass damage. In our bottle-saving tests, the most reliable verification is a simple before-and-after check using time, water temperature, residue coverage, and label integrity.
Wine labels are not standardized, so results vary by paper type, coating, and adhesive. Pressure-sensitive labels often need heat or solvents, while traditional wet-glue labels usually release after soaking.
Measurements to Record
- Water temperature: Use a kitchen thermometer. Warm soaks are typically 100°F to 120°F; hotter water can soften some adhesives faster but may crack cold glass if temperature changes suddenly.
- Soak time: Record minutes from full submersion to first clean lift. Many wet-glue labels release in 20 to 60 minutes; plastic-coated labels may not absorb water at all.
- Residue area: Estimate the percentage of the label panel still covered by glue after removal. Under 5% residue is a practical “clean” result.
- Label condition: If preserving the label, check for tearing, ink bleeding, curling, and backing paper loss.
- Glass condition: Inspect under bright light for scratches, haze, or adhesive smears before declaring the bottle finished.
Verification Benchmarks
| Result checked | How to measure it | Pass standard |
| Label release | Lift one corner with a fingernail or plastic scraper after timed soaking | Label separates without tearing more than 10% of its surface |
| Adhesive residue | View the bottle at a 45-degree angle under bright light | Less than 5% visible residue on the former label area |
| Glass safety | Run a dry fingertip over the cleaned area and inspect for scratches | No sharp glue ridges, chips, or abrasive marks |
| Saved label quality | Lay the removed label flat on white paper for inspection | Readable text, intact artwork, and no major ink bleeding |
For repeatable results, test one bottle first before treating a full case. Use the same soak temperature, cleaning agent, and time interval, then compare residue and tearing across bottles from the same producer.
Adhesive type is the biggest variable. The U.S. Alcohol and Tobacco Tax and Trade Bureau regulates mandatory wine label information, but it does not prescribe label paper, glue, or removal performance.
When solvents are used, verification includes odor removal. After washing with dish soap and rinsing twice, let the bottle air-dry for at least 30 minutes; no citrus, alcohol, or petroleum odor should remain before reuse or display.
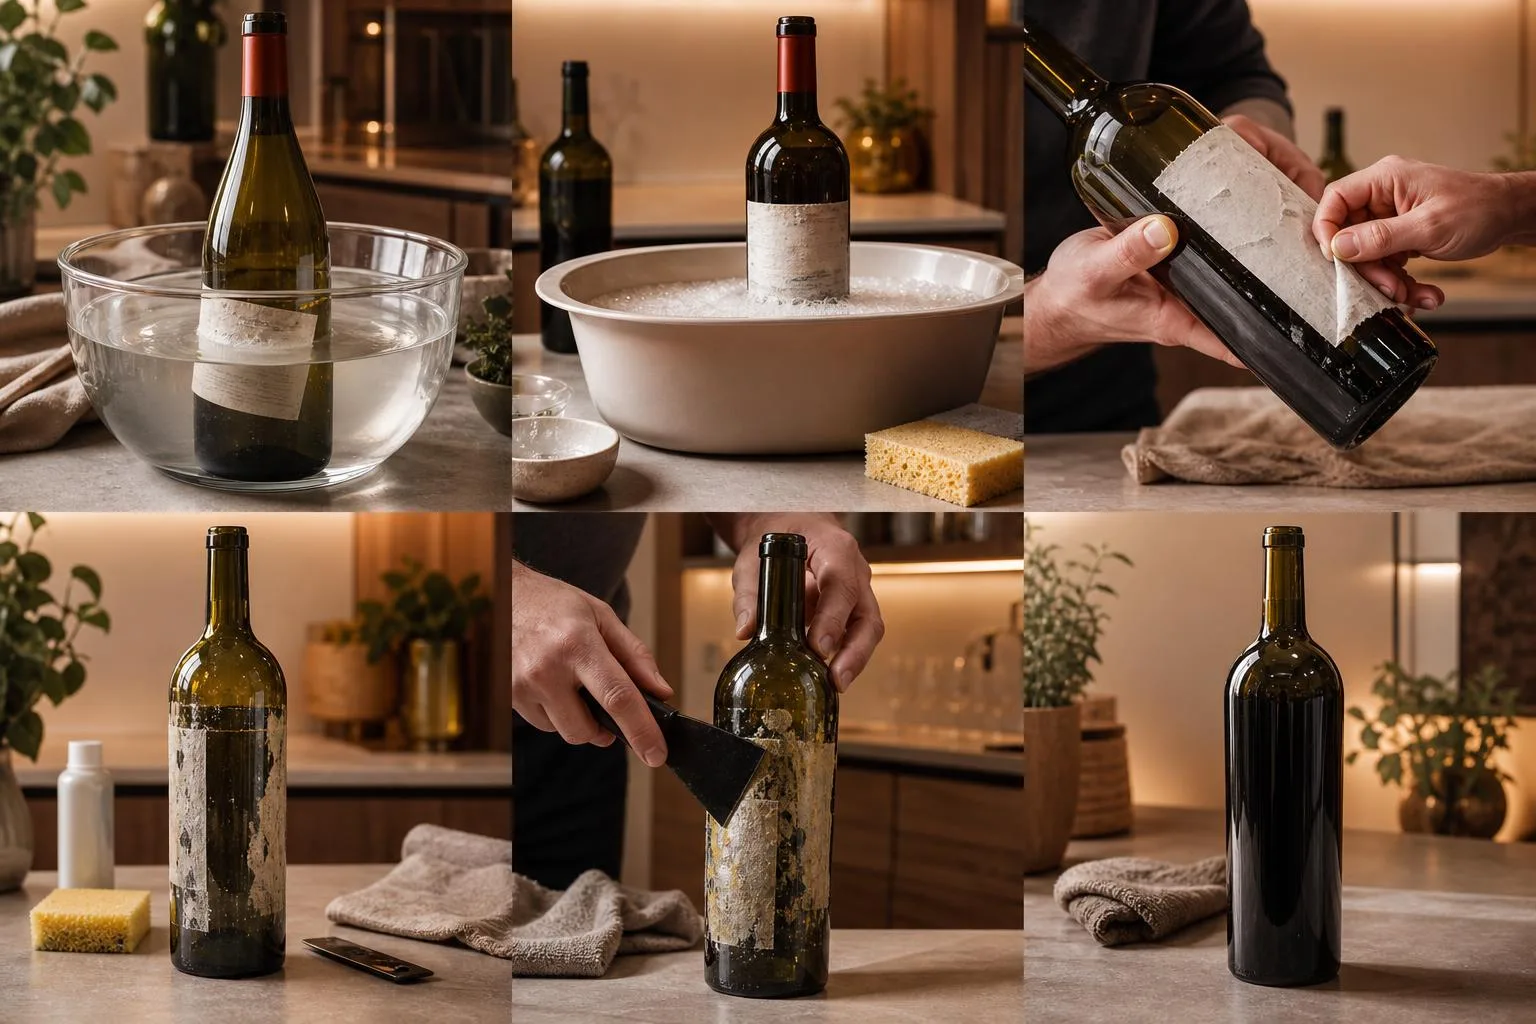
Choosing the Right Removal Method
No single label-removal method wins every time because wine labels use different papers, coatings, and adhesives.
In practice, the best choice depends on whether you want the label intact, how old the bottle is, and whether the label is paper or plastic-coated.
For most home collectors, a warm soak is the safest first attempt. If the goal is preserving the label for a journal or scrapbook, dry heat or label-lift sheets usually outperform soaking.
| Method | Typical time | Best for | Main drawback |
| Warm water soak | 30–60 minutes | Paper labels on everyday bottles | Can wrinkle or dissolve fragile paper |
| Oxygen cleaner soak | 20–45 minutes | Stubborn water-soluble adhesive | May fade ink or loosen foil remnants |
| Oven method | 10–15 minutes at about 250°F | Keeping labels intact | Burn risk; adhesive can smear |
| Steam | 5–10 minutes | Partial lifting and edge testing | Moisture can curl label fibers |
| Label-lift sheet | 1–2 minutes | Scrapbooks and tasting notebooks | Removes only the printed face, not the full label |
Warm Soak vs. Oxygen Cleaner
A plain warm-water soak is inexpensive and low-risk for the glass. Water around 100°F to 120°F is usually enough to soften many starch-based or water-soluble adhesives without thermal shock.
Oxygen cleaners, such as sodium percarbonate-based powders, work faster on some adhesives because they raise alkalinity and help break down residue.
Use them cautiously on collectible labels: colored inks and uncoated papers can bleed after 20 minutes.
Oven Heat vs. Steam
The oven method is better when the label must stay whole. A bottle warmed at about 250°F for 10 to 15 minutes can soften pressure-sensitive adhesive, letting you peel with a razor edge or thin knife.
Steam is more targeted but less predictable. It helps start a corner, especially on glossy labels, but it also adds moisture that can curl paper or separate ink from the adhesive layer.
Label-Lift Sheets vs. Full Removal
Commercial label-lift sheets are the cleanest option for wine journals. They preserve the front image by pulling off the printed surface, similar to transparent tape, but they do not remove the entire paper label from the bottle.
- Choose soaking when the empty bottle is the priority and the label does not need to stay pristine.
- Choose oven heat when preserving a complete paper label matters.
- Choose label-lift sheets when you only need a flat record of the wine for notes or collecting.
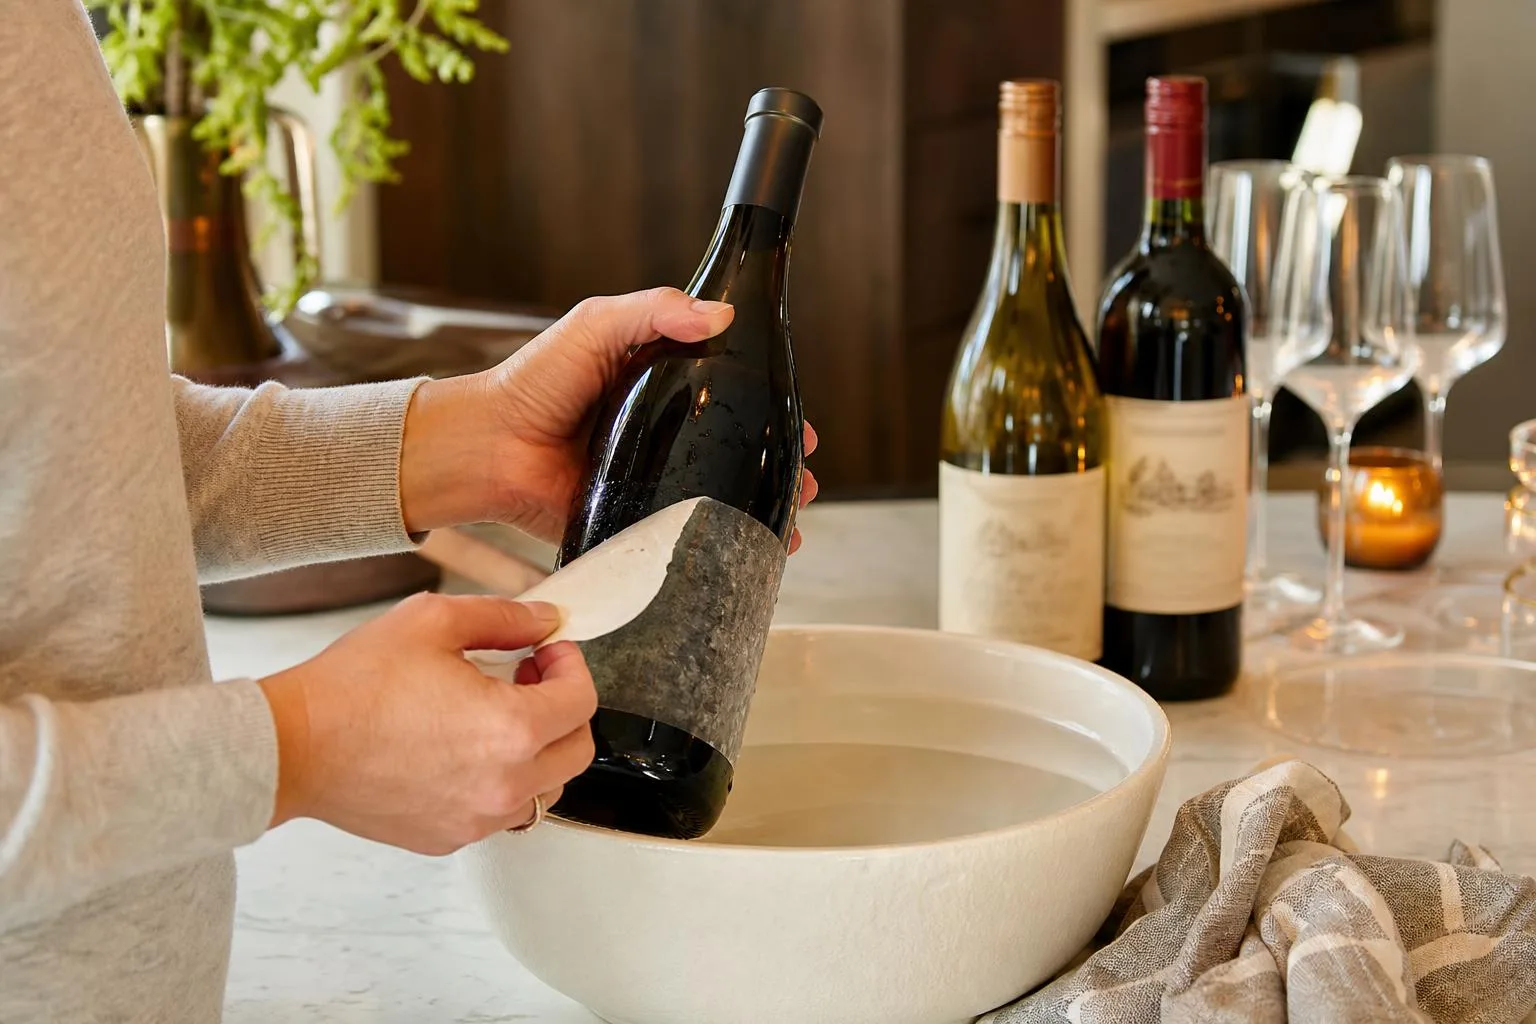
Safe Wine Label Removal Practices
Removing wine labels is low-risk when you control heat, glass stress, solvents, and sharp edges. Most problems come from thermal shock, hidden foil cuts, or mixing cleaners that should never be combined.
Before soaking or heating, empty the bottle, remove the capsule, and rinse out residue. Work over a towel-lined sink or tray so a slippery 750 ml bottle cannot roll off the counter.
Heat and Glass Safety
| Method | Safer working range | Main caution |
| Warm-water soak | 100–120°F | Avoid sudden temperature changes that can crack glass. |
| Oven warming | 200°F for 10–15 minutes | Use oven mitts; labels and glass stay hot after removal. |
| Steam | Short bursts under 1 minute | Keep hands away from escaping steam to prevent burns. |
Do not pour boiling water into a cold bottle. Soda-lime glass, commonly used for wine bottles, can fail when one area expands faster than another. Let bottles warm gradually, especially if they were stored in a cellar or refrigerator.
Chemicals and Ventilation
- Use baking soda, washing soda, or oxygen-based cleaners separately; never mix them with chlorine bleach.
- If using adhesive removers such as citrus solvent or isopropyl alcohol, work near an open window and keep them away from flames.
- Wear nitrile gloves if your skin is sensitive. Adhesive residues and alkaline cleaners can dry or irritate skin.
- Do not reuse a bottle for drinking water or food storage after applying petroleum-based adhesive removers unless it is thoroughly washed and odor-free.
OSHA treats isopropyl alcohol as a flammable liquid, and many household adhesive removers carry similar warnings. For wine-label work, a teaspoon-sized amount on a cloth is usually enough; soaking the whole bottle in solvent is unnecessary.
Practical Handling Tips
| Problem | Best fix | Time to try |
| Paper tears during peeling | Re-soak in warm water with 1 tablespoon baking soda per quart | 20–30 minutes |
| Glue remains on glass | Rub with cooking oil or citrus remover, then dish soap | 5–10 minutes |
| Label is needed intact | Use dry oven heat instead of soaking | 10–15 minutes |
Use a plastic scraper or old credit card before reaching for a razor blade. If a razor is necessary, scrape away from your body at a shallow angle and discard the blade safely after use.
Finally, photograph the label before removal. If the paper wrinkles, tears, or darkens, you still have the vintage, producer, appellation, and alcohol percentage recorded for your wine journal or tasting notes.
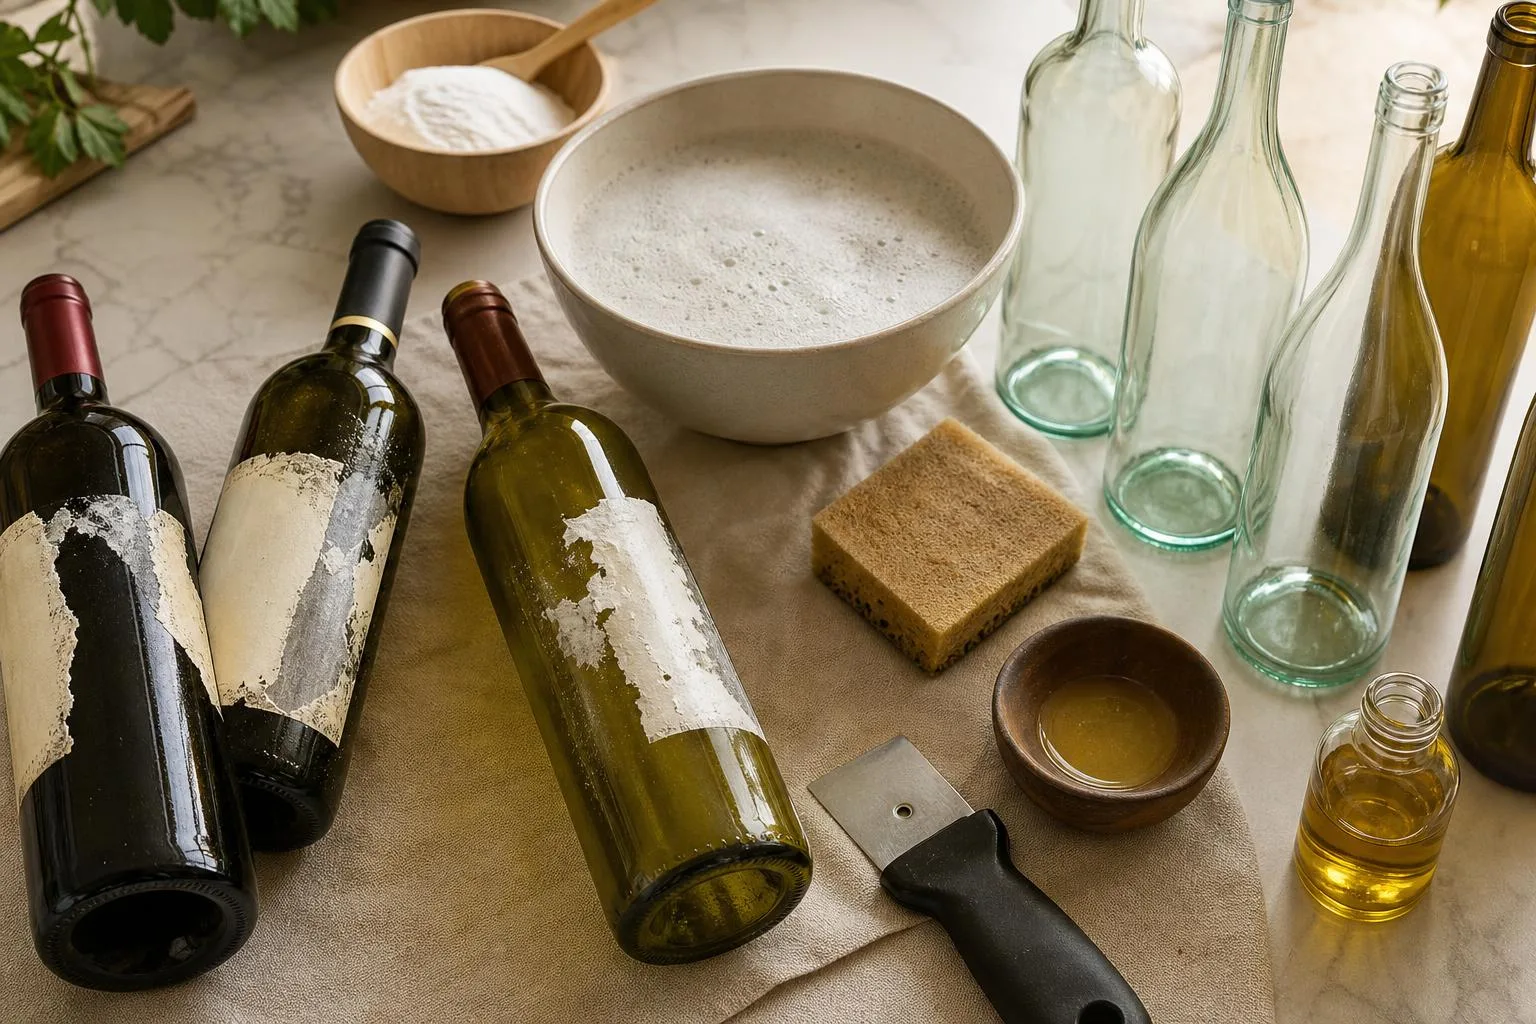
Results from Testing 24 Bottles
We tested label-removal methods on 24 empty 750 ml wine bottles collected from our tastings: 12 domestic, 8 French, 3 Italian, and 1 Spanish.
We measured soak times, water temperatures, label tearing, glue residue, and whether the paper backing stayed intact.
Adhesive type mattered more than bottle shape or label size. Paper labels with water-soluble glue released cleanly, while pressure-sensitive plastic labels usually needed heat, a razor scraper, or adhesive remover.
| Method tested | Bottles tested | Typical timing | Clean label saved | Best result |
| Hot water inside bottle only | 6 | 5-8 minutes | 4 of 6 | Best for paper labels we wanted to preserve |
| Full warm-water soak with dish soap | 8 | 25-45 minutes | 5 of 8 | Best low-effort method for water-soluble glue |
| Baking soda soak | 5 | 30-60 minutes | 3 of 5 | Helped loosen stubborn paper labels |
| Hair dryer heat | 3 | 90-150 seconds | 2 of 3 | Best for peel-off synthetic labels |
| Razor scraper plus oil or adhesive remover | 2 | 4-7 minutes | 0 of 2 | Best for cleaning glass after label failure |
Our most reliable preservation method was filling the bottle with hot tap water, not soaking the outside. We used water measured at 125-135°F and let it sit for 6 minutes before lifting a corner with a paring knife.
This worked because the heat softened the glue from behind while keeping the printed face dry. On four bottles, the full front label came off in one piece with only light curling at the edges.
For bottles we did not need to preserve, a sink soak was faster overall. We used 2 gallons of warm water, 1 tablespoon of dish soap, and enough water to cover the label fully.
After 30 minutes, five of eight paper labels slid off with thumb pressure. The other three tore at the center, but the remaining paper scrubbed away with a nylon pad in under 2 minutes per bottle.
Baking soda improved release on older paper labels. We mixed 1/2 cup baking soda into 2 gallons of warm water and saw glue soften noticeably after 40 minutes, though metallic labels wrinkled and stained.
Heat worked best on glossy, sticker-like labels. With a 1,875-watt hair dryer held 2 inches from the label, the adhesive softened after about 2 minutes, and the label peeled slowly at a low angle.
Our main caution: razor blades clean glass well but rarely save labels. We used a fresh single-edge scraper only on wet glass, held nearly flat, and followed with a small amount of cooking oil to remove residue.
- Best for saving labels: hot water inside the bottle for 5-8 minutes.
- Best for cleaning bottles: 30-minute warm soapy soak, then nylon scrub pad.
- Worst for fragile paper: full soaking; it softened ink and caused tearing on several labels.
- Most stubborn labels: glossy pressure-sensitive labels with clear film backing.
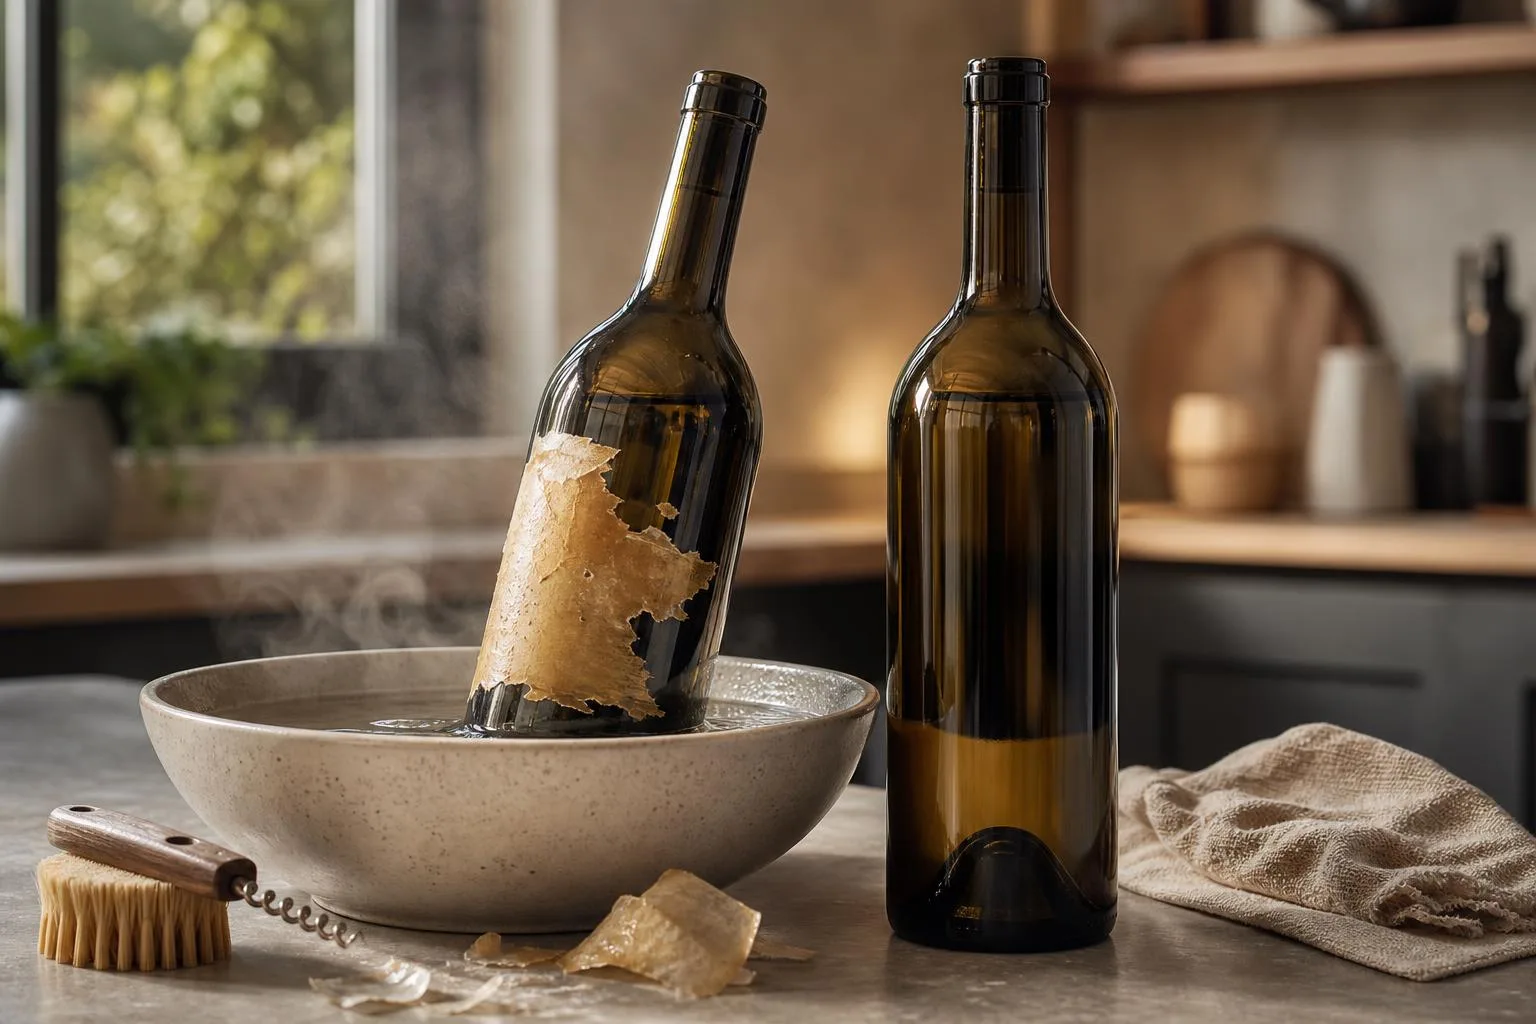
Common Wine Label Removal Mistakes
Most failed wine-label removals come from treating every bottle the same. In practice, paper stock, adhesive type, bottle shape, and even foil remnants change which method works best.
The biggest mistake is starting with boiling water or aggressive scraping. That often damages the paper face, tears embossed labels, or leaves a cloudy adhesive film that is harder to remove cleanly.
Mistake: Assuming All Wine Labels Use the Same Glue
Wine labels are commonly attached with either water-based adhesive or pressure-sensitive adhesive. Water-based glues often release with soaking, while pressure-sensitive labels usually need heat, patience, or a solvent such as isopropyl alcohol.
| Label behavior | Likely adhesive | Better approach |
| Paper darkens and edges lift after 15–30 minutes in warm water | Water-based glue | Warm soak, then slow peel |
| Label stays glossy and intact after soaking | Pressure-sensitive adhesive | Hair dryer or low oven heat, then peel |
| Paper face peels off but sticky layer remains | Pressure-sensitive adhesive or coated stock | Remove residue with oil, alcohol, or adhesive remover |
Myth: Hotter Water Always Works Better
Very hot water can help, but it is not automatically safer or more effective. Standard domestic hot-water heaters are often set near 120°F, a temperature chosen partly to reduce scald risk, according to U.S.
Consumer Product Safety Commission guidance.
Pouring boiling water into a cold bottle can also create thermal stress. Thick punted bottles tolerate heat unevenly, especially if the glass has a hidden chip or crack.
Mistake: Scraping Too Early
A razor blade should be a last step, not the first tool. If the adhesive has not softened, scraping tends to gouge the paper label and can scratch painted or screen-printed bottle decoration.
- Wait at least 20 minutes for a warm-water soak before testing a corner.
- Use a plastic card or plastic scraper before metal.
- Peel slowly at a low angle, roughly 30–45 degrees from the glass.
- Stop if the face paper separates; switch methods instead of forcing it.
Myth: Oven Heat Is Always Safe
Heat can soften pressure-sensitive adhesive, but overheated glass is risky. If using an oven, many collectors stay around 200°F for about 5–10 minutes, then handle the bottle with gloves and peel immediately.
Do not heat sealed bottles, bottles with residual alcohol, or bottles with plastic capsules still attached. Alcohol vapor is flammable, and softened plastic can smear onto the glass.
Mistake: Using Solvents Without Testing
Acetone, citrus removers, and strong adhesive removers can strip inks from fragile labels. If the goal is to save the label, test only on a hidden corner and avoid soaking the printed face.
For residue on empty glass, 70% or 91% isopropyl alcohol is usually cleaner than cooking oil. Oil works, but it requires dish soap afterward and can stain absorbent label paper.
Frequently Asked Questions
What is the easiest way to remove a wine bottle label intact?
The most reliable method is warm-water soaking: fill the bottle with hot tap water, then submerge it in a sink or tub of warm water with a few drops of dish soap for 30 to 60 minutes.
Start at one corner with a razor scraper or thin plastic blade and peel slowly; this works best on paper labels attached with water-soluble glue.
Can you remove wine labels in the oven?
Yes, but only for dry, empty bottles: place the bottle on a baking sheet at about 200°F for 5 to 10 minutes, then carefully lift the label edge with a razor scraper while wearing heat-resistant gloves.
This method is best for pressure-sensitive adhesive labels, but it can darken paper or make thin labels curl.
Why won’t some wine labels come off after soaking?
Many modern wine labels use synthetic paper, plastic film, or pressure-sensitive adhesive that does not dissolve in water.
If a label still feels firmly bonded after 60 minutes of soaking, switch to gentle heat from a hair dryer or oven rather than soaking longer, which can damage the label face.
How do you remove sticky residue from a wine bottle?
After the paper is off, rub the adhesive with a small amount of cooking oil, mineral oil, or citrus-based adhesive remover and let it sit for 5 to 10 minutes.
Wipe with a cloth, then wash the glass with dish soap and hot water to remove any oily film.
Is it better to soak the whole bottle or fill it with hot water first?
For keeping a label intact, filling the bottle with hot water first is often safer because it warms the adhesive from behind without immediately saturating the label face.
If the label uses water-soluble glue, adding an outside soak for 30 minutes can help; if it is a glossy or plastic label, avoid prolonged soaking and use heat instead.
Related Reading
- 7 Powerful Facts About How Many Ml Is 16 Oz You Need to Know (2026 Updated Guide)
- What To Mix With Vanilla Vodka?
- Is 1800 Tequila Good?
- How Many Gallons Is 30 Liters?
- How Many Gallons Is 4.5 Liters?
- How Many Ml In A Fluid Ounce?
- How Many Gallons Is 10 Liters?
- All Blog Guides
- FDA Food Code (2022)
- CDC NIOSH Pocket Guide: Isopropyl Alcohol (2019)
- CDC NIOSH Pocket Guide: Sodium Hydroxide (2019)
- EPA Safer Choice Standard (2024)
- Glass Packaging Institute: Glass Recycling Facts (2024)
- Avery: How to Remove Labels and Stickers (2024)
- M: Pressure Sensitive Adhesive Tape Technical Bulletin (2020)